Sustainable Crafting

Upcycle a Backpack into a Belt Bag!

Alright, I’m checking in to the blog with a quick and dirty project! This only took me about twenty minutes to make. If there are any eco heroines or heroes out there who feel like rescuing some thrifted backpacks and turning them into cash…this is the project for you!

Amazon sells the clasps and sliders to make belt bags, so I ordered some with some nylon straps. It all came in at around $15, and I now have materials to make a bunch of belt bags! If you are looking for a fun, quick project to sell on Etsy…belt bags are really popular right now and super fun to make.

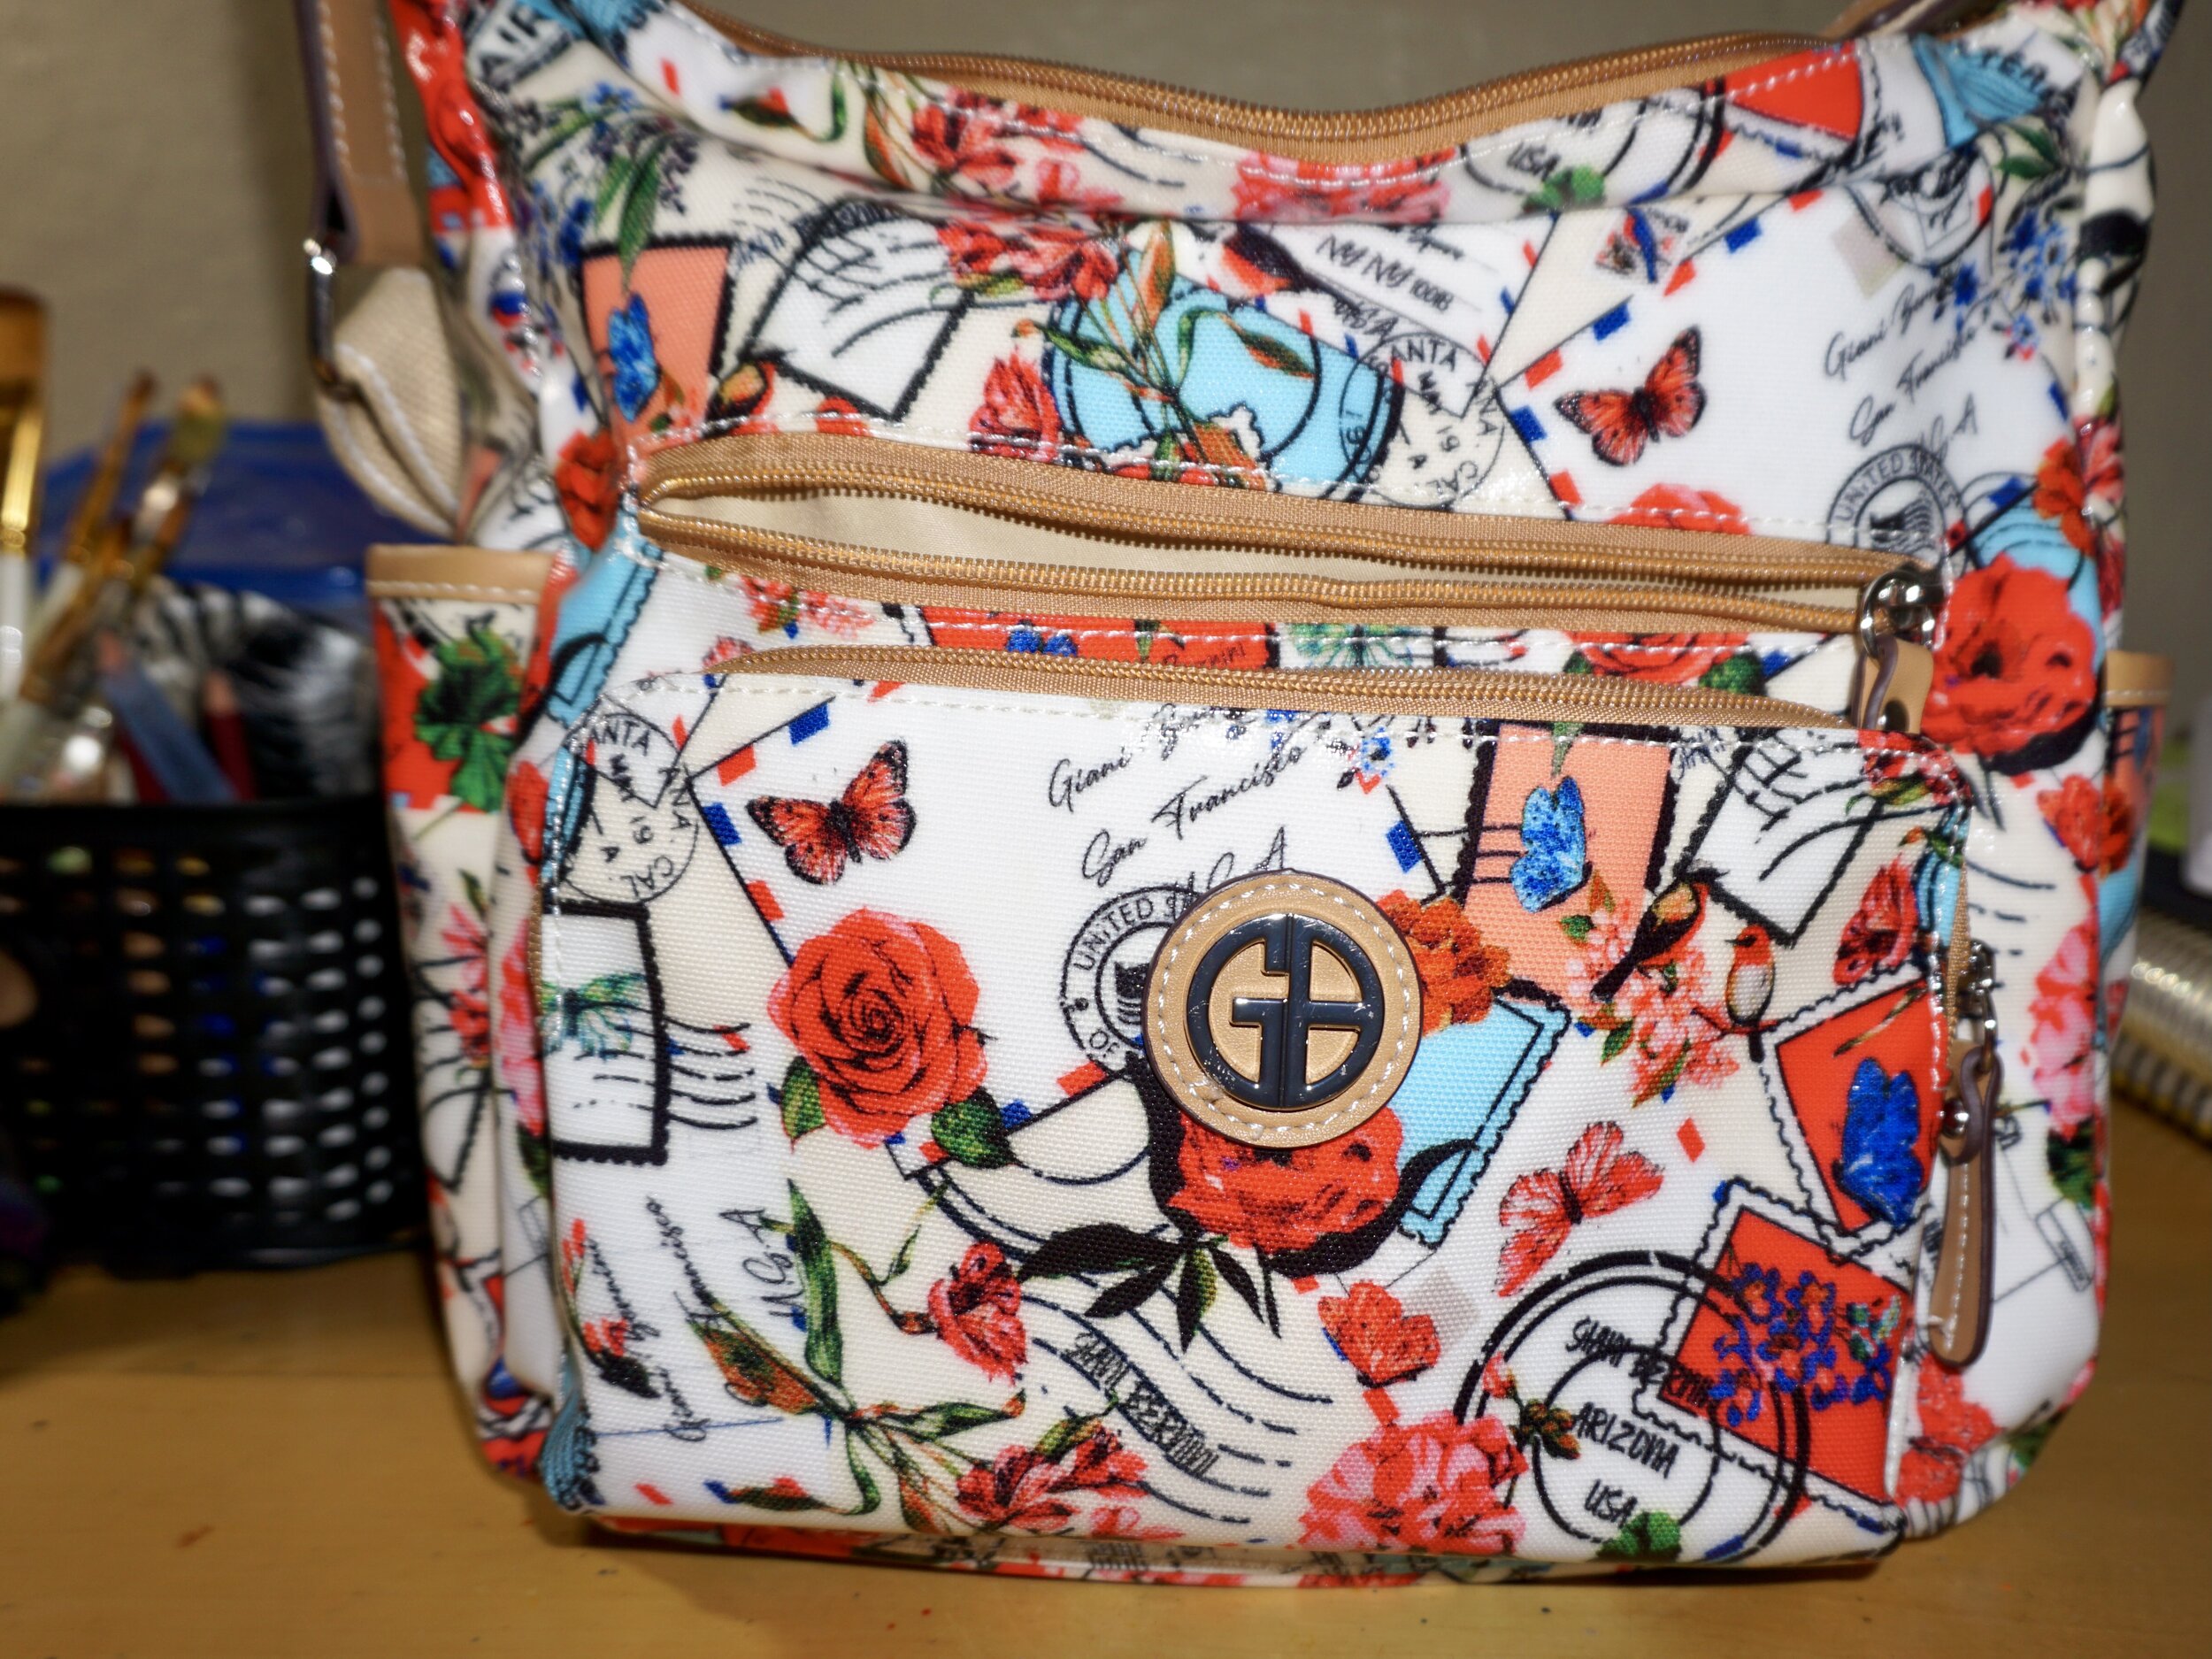
Look for pre loved backpacks that have a pocket on the front of the outside when you thrift next, and I bet you will score some bags to use! I had an old backpack that I didn’t entirely love. The bag didn’t really have shape so I found myself not wanting to use it.

Enter the belt bag! I’ve been wanting a proper belt bag, because I love toting around items when I’m in the yard or doing stuff around the house. And a lot of my pants don’t have pockets. I looked online, and it is nearly impossible to find plus size belt bags anywhere! I did find one for $45, but that seemed way too expensive. So I made one in twenty minutes, and it probably only wound up costing me $5 all said and done!

Here are the steps quickly to upcycle an old backpack into a belt bag. I did not include steps to add the buckle clasp and slider to make it adjustable, but if you need help with that there are lots of other tutorials online. Make one for yourself, make some as gifts, or even make some to sell!

A backpack I didn’t love to use, but that front pocket was perfect for a belt bag!

Cut off the front pocket, leaving room around the pocket to be able to turn the fabric under and sew.

Break down the backpack and remove the foam and other parts. They might come in handy for another project down the road!

Fold the edges under and sew with a zig zag stitch. You will need to be sure to shift the pocket out of the way of the presser foot as you go along.

Add a strap with buckle! I will be adding a slider at a later point, so that the bag will be adjustable.

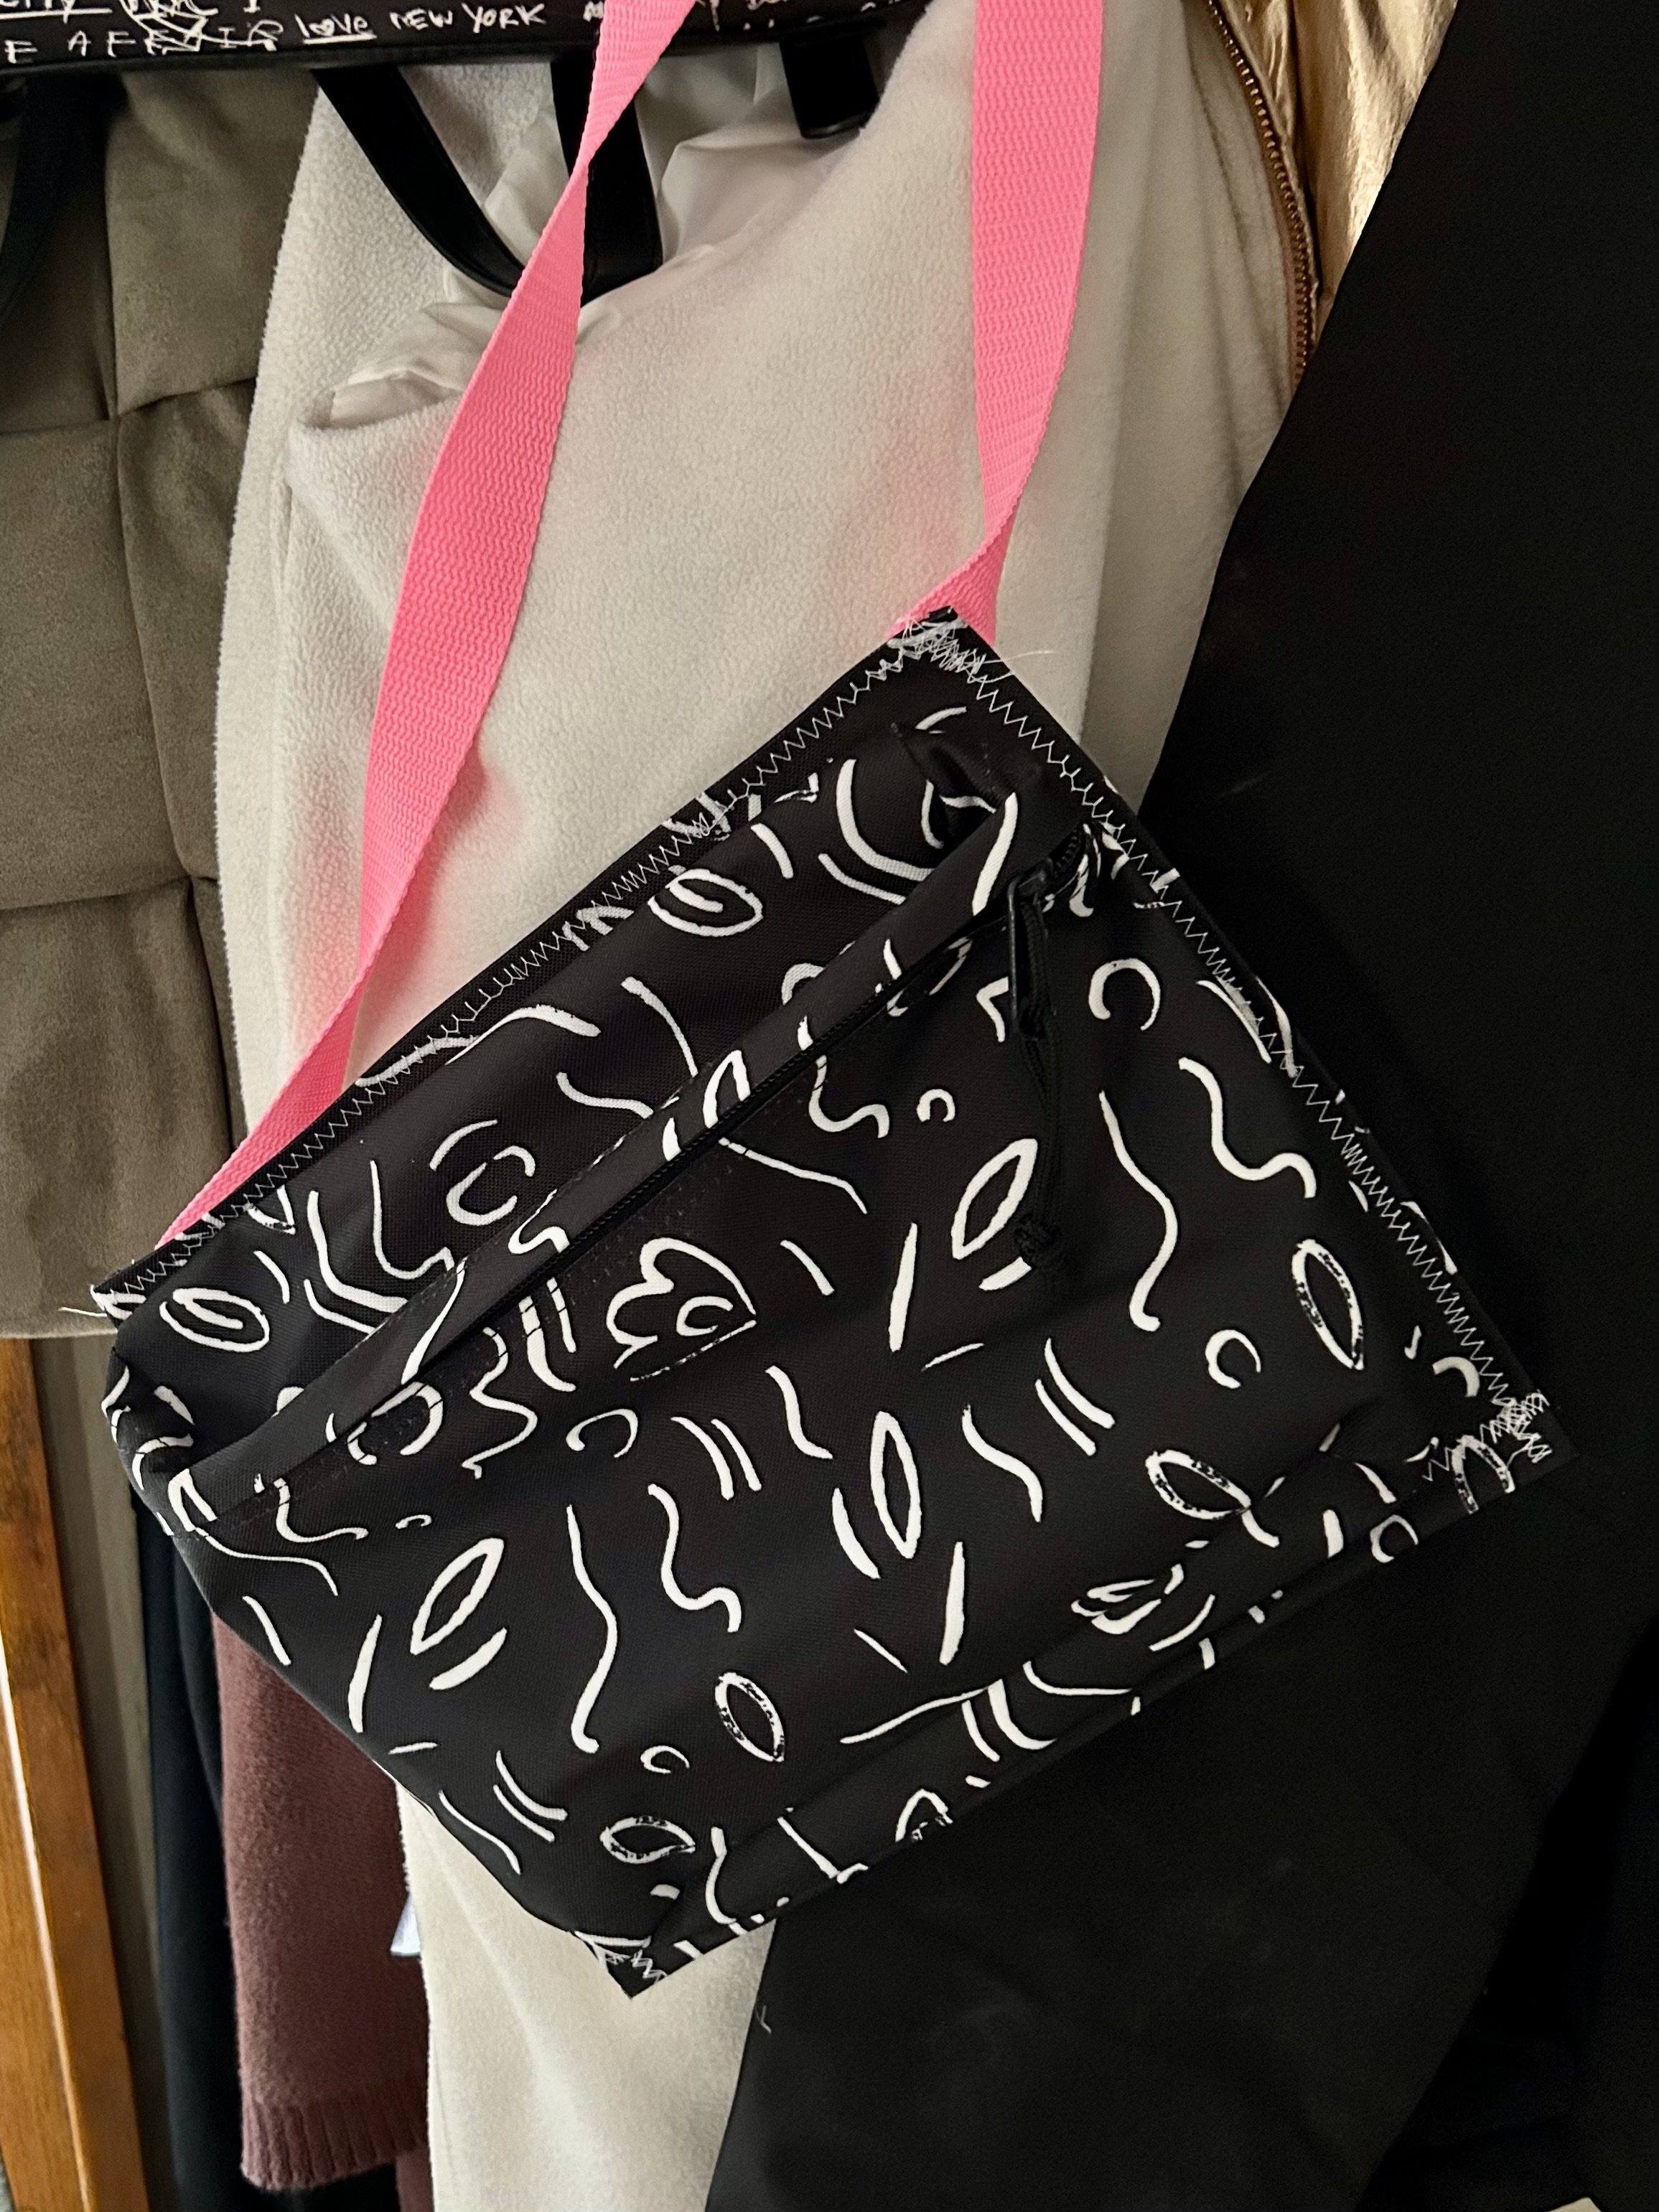
Rock your new belt bag! Make one for yourself, make some to give away, make some to sell! $$$

Upcycle Junk Artwork into a Collage Journal


Make an Eco Art Journal! 

If you are anything like me and have been making art for years, chances are you have some works that did not turn out the way you wanted.  Scour through your boxes of old art and pull out everything you dislike.  Then turn it all into this fabulous art journal and give it a whole new lease on life!

This journal is created with 100% upcycled materials or items I already had around the house.  If you know anything about me you know I don’t like to spend a ton on art unless it is absolutely necessary.  I made this journal with things I already had, so it was nearly FREE to make! 

The materials list for this project might seem extensive, however I want to encourage you to think outside the box!  Use the materials you already have.  Sometimes the best projects come together with a more scrappy, creative use of resources. 

Especially when it comes to Eco Art, it is fun to use what you already have or use materials in fresh ways.  Make the journal your own and have fun using what you have on hand!

The finished dimensions of my Eco Art Journal were approximately 13 inches wide by 11 inches tall, with about 30 pages in the book. 

Materials:

Old artwork in varying sizes

Hole punch

Marker

Hemp thread or needle and thick floss to thread the binding

2 pieces of thin cardboard that are the same size

(you could use a cereal box or look around your house and find a larger box that is made from a light weight cardboard)

Optional paper cutter or scissors and ruler

Materials to decorate the covers

(old magazines, craft paints, glue stick, stencils, other material you have on hand)

Optional Manilla Envelope for back cover

This is a great rainy day project!  Turn up the music and plan on spending some time during the weekend getting the art journal together.

For Step One, start by preparing the cardboard pieces that will be the cover.  Break the box down so that you have two large pieces of equal size.

The binding of the book is created by a line of holes along the left edge.  You can use a ruler and mark every inch along the left edge to align the placement of the holes.  Or do what I did and just wing it!  Put the bottom hole approximately ½ inch from the bottom edge and then work your way up.  If your cardboard is thin you should be able to use the hole punch; otherwise use a crop-o-dile tool or book making awl. 

Once you have the holes punched along the left edge of both pieces of cardboard, choose one piece to be the front cover.  Fold the cardboard about an inch in along the left side in a straight line and crease.  This will make it easier to open the book.

Set the cover aside and it is time for Step Two!  This is kind of the arduous tedious part of the process so be prepared for some elbow grease.

This is the perfect time to crack open a cold one, put on some upbeat music and get INTO the process!

Take one piece of paper from your stack of old artwork and lay it under the front cover.  Align the bottom edge of the cover with the bottom edge of the paper and, using your marker, draw dots to mark where the holes are supposed to go.  Punch out the holes and then use that sheet as a guide to punch holes in the rest of the sheets of paper. 

If you want the right edge of the book to be neat and tidy, you may need to trim down some of the pages.  My journal has pages that are similar in size and I’m letting the right edge be uneven.  I did trim down some of the papers to make them similar in size.  If you are a perfectionist and like to have all your ducks in a row, just make the pages approximately the same size.

If there are other papers or cardstock that you want to add to the journal, prep them in the same fashion as you did with the old art.  You could add map pages, grid paper, book pages, etc.  It just depends on the style of journal you are trying to make.  My journal is going to be for collage so I’m using junk watercolor papers and mixed media paper.   

So now that you have the pages prepared it is time for Step Three!  This is the fun part, the part that you have been waiting for!  Decorate the covers of your journal in any way you see fit. 

To begin, start with the back cover.  I happened to have a manilla envelope lying around, so I glued one to the inside of the back cover.  This will be handy for storing magazine clippings and bits of paper that I want to later work into the journal.

Next comes the front cover!  Mine is a basic collage scene with a cardstock background.  Use what you have on hand and decorate to your heart’s content!

I started my cover with a piece of cardstock to create a background.  Then I built up layers of collage until I was happy with the work.  Feel free to go to town and glue images down intuitively.  If you don’t like something you can always layer an image over the top. 


Seal the collage with a top layer of matte medium, mod pauge sealant or spray varnish. I prefer Collage Pauge because it doesn’t put off fumes…there are lots of options out there today. Some sealants even have sparkles in them, or you can use a sparkle glue pen to add to the overall design.

Step Four has finally arrived!  Try to relax while you put the book together. The end result will be an incredible collage book, where you can finally turn junk artwork into something you love.

Place the bottom cover of the journal in front of you and begin stacking the pages to line them up.  Every once in a while, push a thin paintbrush through the holes to make sure everything is aligned the right way.  Continue stacking the pages until they are all aligned and then stack the front cover on top.

(I wanted to use leather cord to bind the book however I quickly discovered that threading the binding is much easier with a thin sturdy thread like hemp thread.  Alternatively, use a needle and heavy thread or floss.)

 Thread the hemp through the top left hole and then down and up through the second hole.  Leave a bunch of extra thread at the top to make sure you have enough to do the entire binding.  Basically thread the book like you would lace up a shoe.  Once you get to the bottom, pull on the thread to make sure you have enough slack and then work your way back up going the other way. 

When the entire binding is threaded, tighten the lacing and then tie a few knots at the top.  Trim the thread and the book is finished!

Now that your book is complete, the sky is the limit! Prep the pages with gesso so that you have a clean slate to art journal on, or leave some pages as is to collage over with paper and fabric. The book could be used to gather ideas or inspiration, or even use as a glue book to save bits of fodder from your daily life.

I hope you had fun creating your Eco Art Journal!  Life just feels amazing when you are doing what you love and using your materials in new and fun ways. 

Make Art Journals from Junk Mail

I have to admit, over the years I always get excited about projects that use up junk mail! For some reason the thought of turning rubbish into something sacred really appeals to me! At my old place, homeless people would take bags out of my trash can really often. So I stopped putting mail in the bags to prevent identity theft. My husband bought a paper shredder and we typically save up all our junk mail and then shred it, but the mail tends to pile up for months before we do anything with it.

Enter the world of junk journals! I’ve made them in the past, and recently started saving cereal boxes to make some more. Sometimes people will convert old books into junk journals or art journals, but it is so much fun when you make the book from scratch. My junk journals are typically pamphlet style. I cut up a cereal box to use as the cover, and then use junk mail and book pages for the paper. Fold the cereal box, and then fill with folded paper. Use a needle and thread to attach the pages to the cover. You can collage on the pages, or use gesso or white acrylic paint to prime them for drawing and painting.

Here are a couple junk journals I made in the past! I have a stack of mail and cereal boxes that I’ve collected, and cannot wait to make some more.

Sourcing Vintage Notions and Patterns

I know I mention Etsy a lot, because I actually really love the site! A few years back Etsy changed their rules, so now people can sell mass produced goods on there…which took a lot of fun out of shopping on there. But I love selling on there occasionally and love supporting other makers there! I have shopped on Etsy a little over 80 times throughout the years, always supporting makers and collectors of all different stripes. Etsy is still a fabulous place to find handmade goods, and it is easy to spot items that have been mass produced vs. handmade.

Vintage Patterns from Etsy

This post is about finding vintage notions and sewing patterns, because doing so is one way to automatically make your sewing hobby more eco friendly. You can find vintage patterns on the cheap being sold from lots of different shops, in all different sizes. I have amassed a small collection of clothing patterns from Etsy sellers. Some are from the Seventies and Eighties, some 90’s. It is so fun to be able to find a pattern where I know the sale is directly benefiting the seller vs. shopping through a big box store. Plus, collecting vintage patterns is so addictive! Being able to create vintage looks straight from a pattern is an incredible experience. I also love finding vintage craft pamphlets and books on the site.

Vintage Buttons from AStoreCalledGalore on Etsy

Buttons, lace and trims are also so fab to buy on Etsy! I swear, I bought one or two stashes of buttons from JoAnn fabrics, but once I discovered vintage buttons on Etsy I was hooked! You can find collections in specific colors, quirky fun buttons from the Sixties and Seventies, etc…and they are typically competitively priced. You can also occasionally find sellers with bundles of scrap material for sale. I bought a random assortment of felt and fabric scraps, bits of lace and trim for like $25 years ago, and I still get into that stash for projects like art quilts, upcycles, etc.

Mystery Box Fabrics from Etsy

Last but certainly not least…the fabric on Etsy is awesome! Some of it is super expensive, so you have to really hunt for a bargain. I have purchased yardage that claimed it was vintage only to find it seemed more like new. But you can also buy up used sheets to back your projects like quilts and table runners, and the Seventies fabrics make me swoon! Look for mystery boxes and people trying to unload some of their stash for the best deals. Or buy precut scrap material in bundles!

I tell you what…I put limits on shopping for sewing and art all the time. I mean, using what I have on hand is so important to me. As far as crafting goes I have tried to have a sustainable hobby for many years. When I first started out I tried lots of random materials just to see what I liked. But once you have been sewing or making art for years you just know what works for you! My latest challenge is to use up what I have first in that sewing room before I buy anything new! I also plan on continuing to support Etsy shops for things like vintage patterns and notions, but it is on my bucket list to have turned all of my scrap material into projects and quilts. When you limit your fabric selection it makes you ever more creative! And using what you have on hand becomes second nature after a while.

Have a browse at vintage notions and patterns on Etsy, and you will be amazed at all the fun collections there. And if you get wind of a good sale or great bargain on vintage sewing stuff, shoot me a message and let me know all about it!

Another Painted Craft Bag Project

I painted this bag in 2020….unfortunately I think I might have thrown it away afterward! Sometimes when you make things you develop a love hate relationship with those things based on what other people think. It does take courage to decide that you just don’t care anymore. What is beautiful and lovely to you is all that truly matters! As you create things and upcycle or reinvent, don’t let naysayers deter you. I wish I still had this bag!

DSC06601.JPG
DSC06607.JPG
DSC06837.JPG
DSC06839.JPG
DSC06850.JPG
DSC06855.JPG

Paint a Craft Bag

Ok, so short story goes something like this…I used to collect handbags. Now I’m trying to repurpose my bags and use them as storage, but I want them to be special. I have a new theory forming that when you turn something into art it is much harder to throw that item away. Like suddenly it is divine because you did something creative with it!

DSC09174.JPG

I bought this bag at Macy’s a couple of months ago. The first time I used it my husband said it just didn’t look like me. If my husband disses something I wear I cannot bring myself to wear it again, otherwise his comment is always just hovering in the back of my mind. He has way better fashion sense than I, he is more classy and I am more anything goes. So I only used this bag twice and then it sat collecting dust. :(

I decided to paint the bag and use it to store art supplies. When I researched the material the bag was made of it said plastic coated canvas. So basically the bag is a churched up plastic bag! Don’t even get me started!

DSC09297.JPG

I put down a little light purple liquitex basics paint to add a tint and then layered black acrylic paint over that. The purple kind of took the edge off the black paint and made it look subtly gray. It grunged up the bag some but the print on the bag still showed through.

DSC09290.JPG

Then I painted the pocket. I had this insect stencil book that I bought thrifted on Poshmark, so I used the general shape of a dragonfly and then altered it a little to be more my style. The angel is one of my folk art symbols that I have used a lot over the years.

I did add some text on the back of the bag, just painted in cursive. I wanted a reminder to live in the present! I might go back over the back and redo some of the lettering, but I’m pretty happy with how the bag looks! It is so ready to hold my precious art supplies, and has lots of pockets for all my needs!